
The first time I added one teaspoon of unflavored gelatin to my gluten free bread dough, I almost did not believe what came out of the oven. A loaf that held together. A crust that crunched. A crumb I could actually slice. I stood in my kitchen thinking: why does nobody talk about this? That was three years ago. I have been talking about it ever since.
The gelatin trick gluten free bakers have been quietly using for years is finally getting the attention it deserves — and for good reason. It solves the single biggest problem in gluten free baking: the lack of an elastic protein network that holds dough together, traps gas bubbles, and creates real chew.
If you have ever pulled a gluten free loaf out of the oven only to watch it collapse, tried to stretch pizza dough and watched it tear, or rolled pie crust that crumbled before it reached the pan — this recipe and guide is exactly what you need.
In this article I am going to give you the exact recipe, show you how to use it in five different applications, and explain precisely why it works so you can adapt it confidently to any gluten free recipe in your rotation.
If you are ready to put the gelatin trick to work, start with our gelatin gluten free bread recipe — it is where the difference is most dramatic.
Table of Contents
Table of Contents
What Is the Gelatin Trick Gluten Free Bakers Use?
The gelatin trick gluten free baking method is the technique of adding a small, carefully measured amount of unflavored gelatin powder to gluten free dough before baking. The gelatin is first bloomed in cold water, then melted and added to the wet ingredients. Once incorporated into the dough and baked, it forms a flexible protein matrix that mimics the structural behavior of gluten.
Gluten — the protein found in wheat, barley, and rye — forms long elastic chains when flour is mixed with water and kneaded. These chains trap the carbon dioxide produced by yeast or baking soda, allow the dough to stretch without tearing, and hold everything together as the baked good cools. Without gluten, none of this happens naturally.
Gelatin fills that gap. It is derived from collagen, the connective tissue protein found in animal bones and skin. When dissolved in liquid and baked, collagen forms a similar protein network — flexible, elastic, and capable of creating the chew and structure that gluten free flour blends cannot produce on their own.
You can also see the technique applied to gelatin gluten free pizza dough and homemade gelatin gluten free pasta dough in our dinner recipes.
Is Gelatin OK for Gluten Free? (Yes — Here Is What to Check)
According to the FDA collagen and gelatin guidelines, pure gelatin is derived entirely from animal protein with no wheat, barley, rye, or gluten proteins of any kind.
Celiac note: If you have celiac disease and are highly sensitive, look for a certified gluten free label or contact the manufacturer to confirm their facility practices. Most brands are safe, but verification matters when your health is on the line.
What About Flavored Gelatins?
Flavored gelatins like Jell-O are not appropriate for this technique. They contain added sugars, artificial fruit flavoring, and colorings that will throw off the balance of any recipe — savory or sweet. Always buy plain, unflavored gelatin powder for the gelatin trick.
Vegan Alternative
If you do not consume animal products, agar agar is a plant-based alternative derived from seaweed. Use 3/4 teaspoon of agar agar for every 1 teaspoon of gelatin. Agar sets firmer and is less elastic than gelatin, so expect slightly different results, but it works well in most applications.
From a flaky gelatin gluten free pie crust to tall gelatin gluten free biscuits, every recipe in this series uses the exact method you just learned.
The Gelatin Trick Gluten Free — Master Recipe
Ingredients
Method
- Step 1: Measure your gelatin into a small bowl.
- Step 2: Add cold water (1 tbsp per 1 tsp gelatin).
- Stir gently and let sit 5 minutes until spongy.
- Step 3: Microwave 10-15 seconds until fully liquid.
- Step 4: Add immediately to your wet ingredients.
- Step 5: Mix and bake as usual per your recipe.
Notes
Use 1/2 tsp per cup for pizza dough.
Always bloom first — never add dry gelatin to flour.
Gelatin Trick Gluten Free — What You Need
Base Gelatin Mixture (Master Recipe)
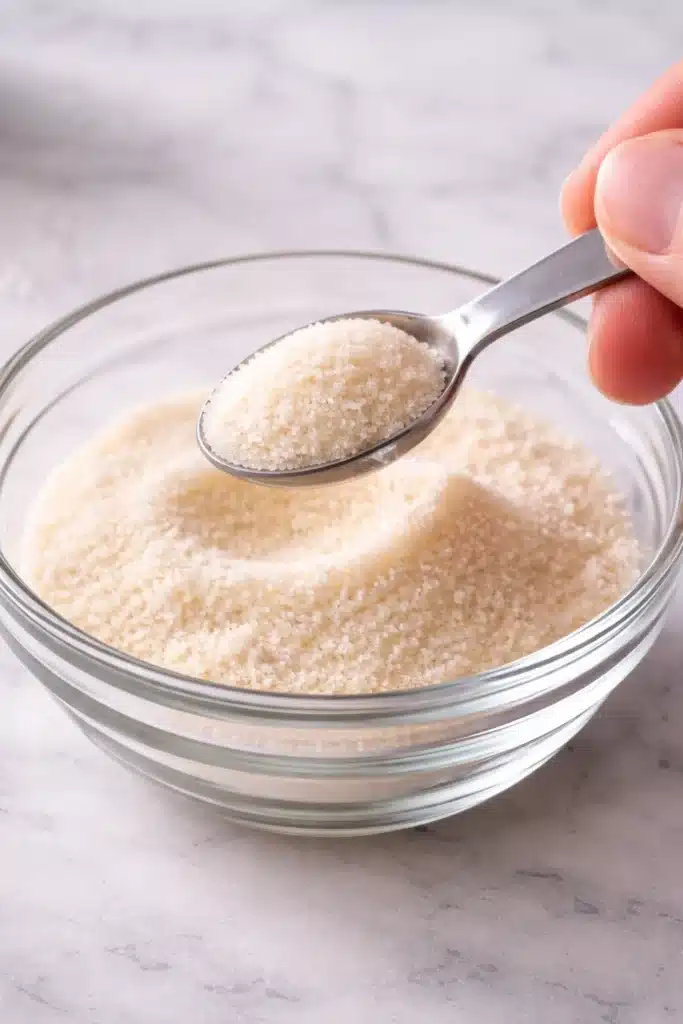
- 1 teaspoon unflavored gelatin powder (Knox, Vital Proteins, or Great Lakes)
- 1 tablespoon cold water (for blooming)
That is it. Two ingredients. The magic is entirely in the technique.
Amounts by Recipe Type
| Recipe | Gelatin | Add to |
| Gluten free bread (1 loaf) | 1 tsp per cup flour | Wet ingredients (eggs + oil + milk) |
| Gluten free pizza dough | 1/2 tsp per cup flour | Warm water before adding yeast |
| Gluten free pasta dough | 1 tsp per 2 cups flour | Egg mixture before flour |
| Gluten free pie crust | 1/2 tsp per crust | Ice-cold water before adding to fat |
| Gluten free biscuits | 1/2 tsp per batch | Buttermilk or dairy-free milk |
| Gluten free flatbread | 1/4 tsp per cup flour | Wet ingredients |
The Gelatin Trick Gluten Free — Step-by-Step Recipe
Step 1: Measure Your Gelatin
Measure the exact amount your gelatin trick gluten free recipe needs into a small bowl or ramekin. Precision matters here — too little and you will not notice a difference, too much and you will end up with a bouncy, rubbery texture. Use the reference table above as your guide.
Sophia’s tip: I keep a dedicated small ramekin next to my stand mixer just for blooming gelatin. It has become as natural a step as cracking an egg.
Step 2: Bloom the Gelatin
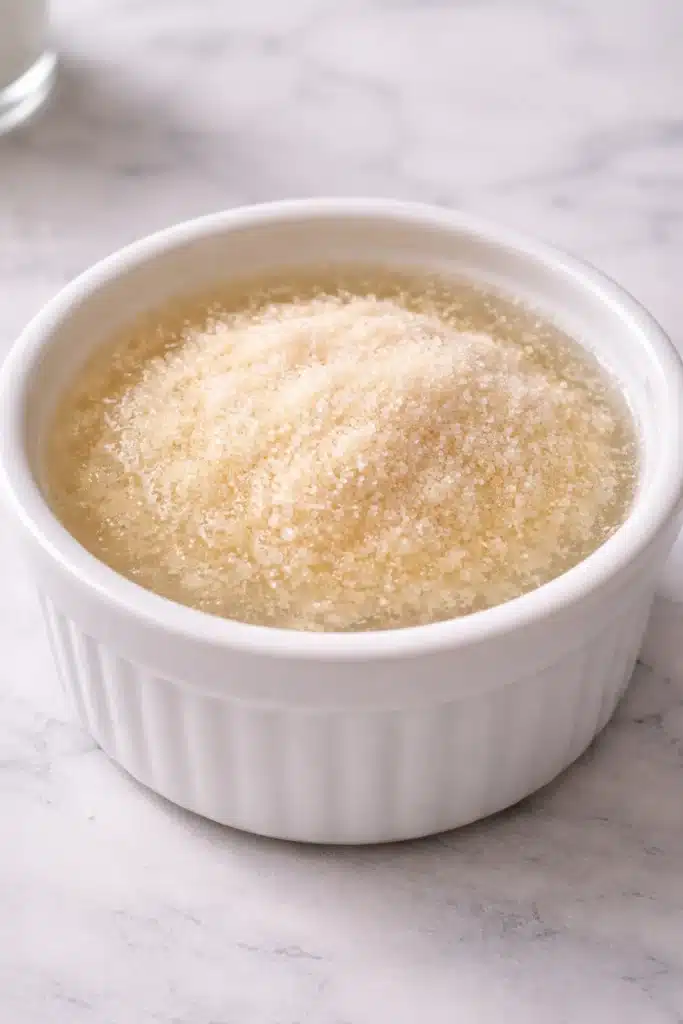
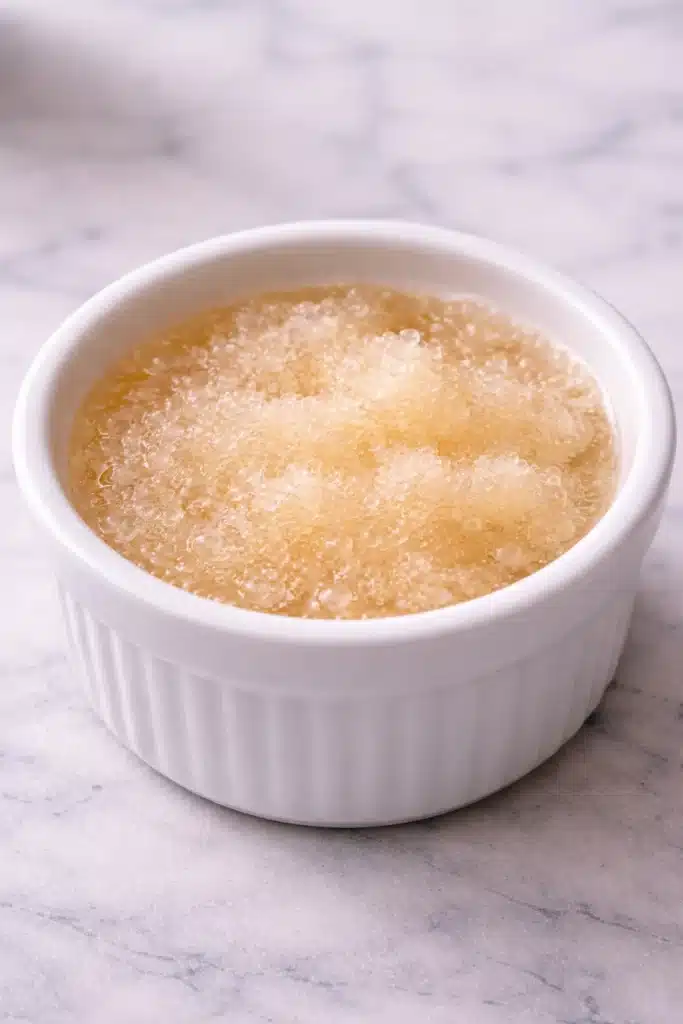
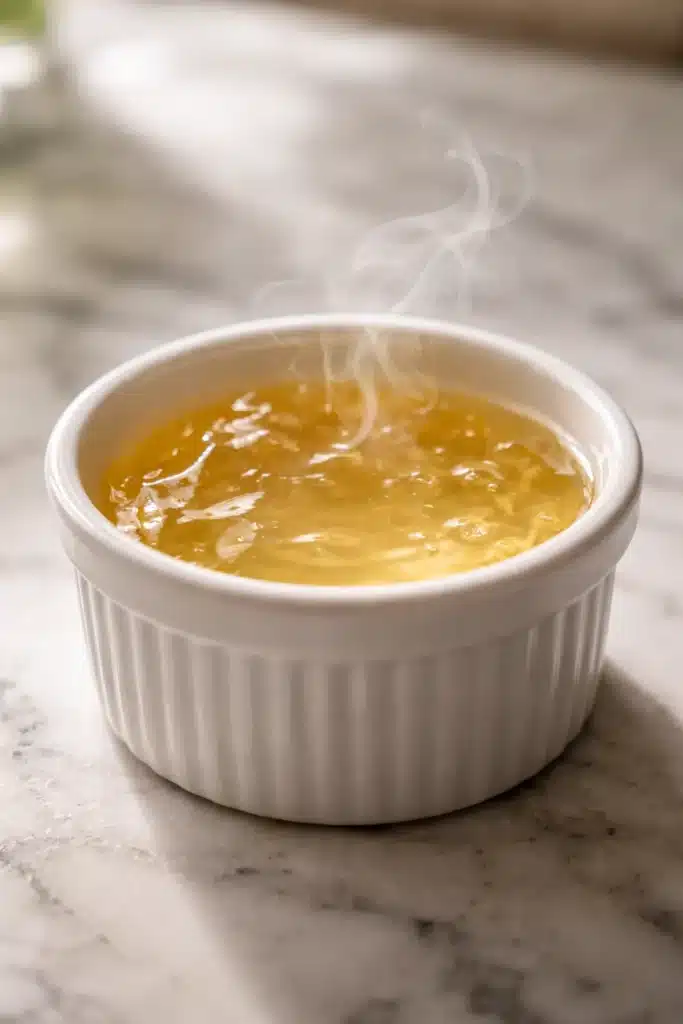
Add cold or room-temperature water to the gelatin at a 1:3 ratio — meaning 1 teaspoon of gelatin gets 1 tablespoon (3 teaspoons) of water. Stir very gently just to combine, then leave it completely undisturbed for 5 full minutes.
During this time the gelatin will absorb all the water and transform from a loose powder into a firm, spongy mass. This is called blooming, and it is a non-negotiable step. Dry gelatin added directly to dough will not distribute evenly and will create rubbery lumps instead of a smooth, integrated texture.
Step 3: Melt the Bloomed Gelatin
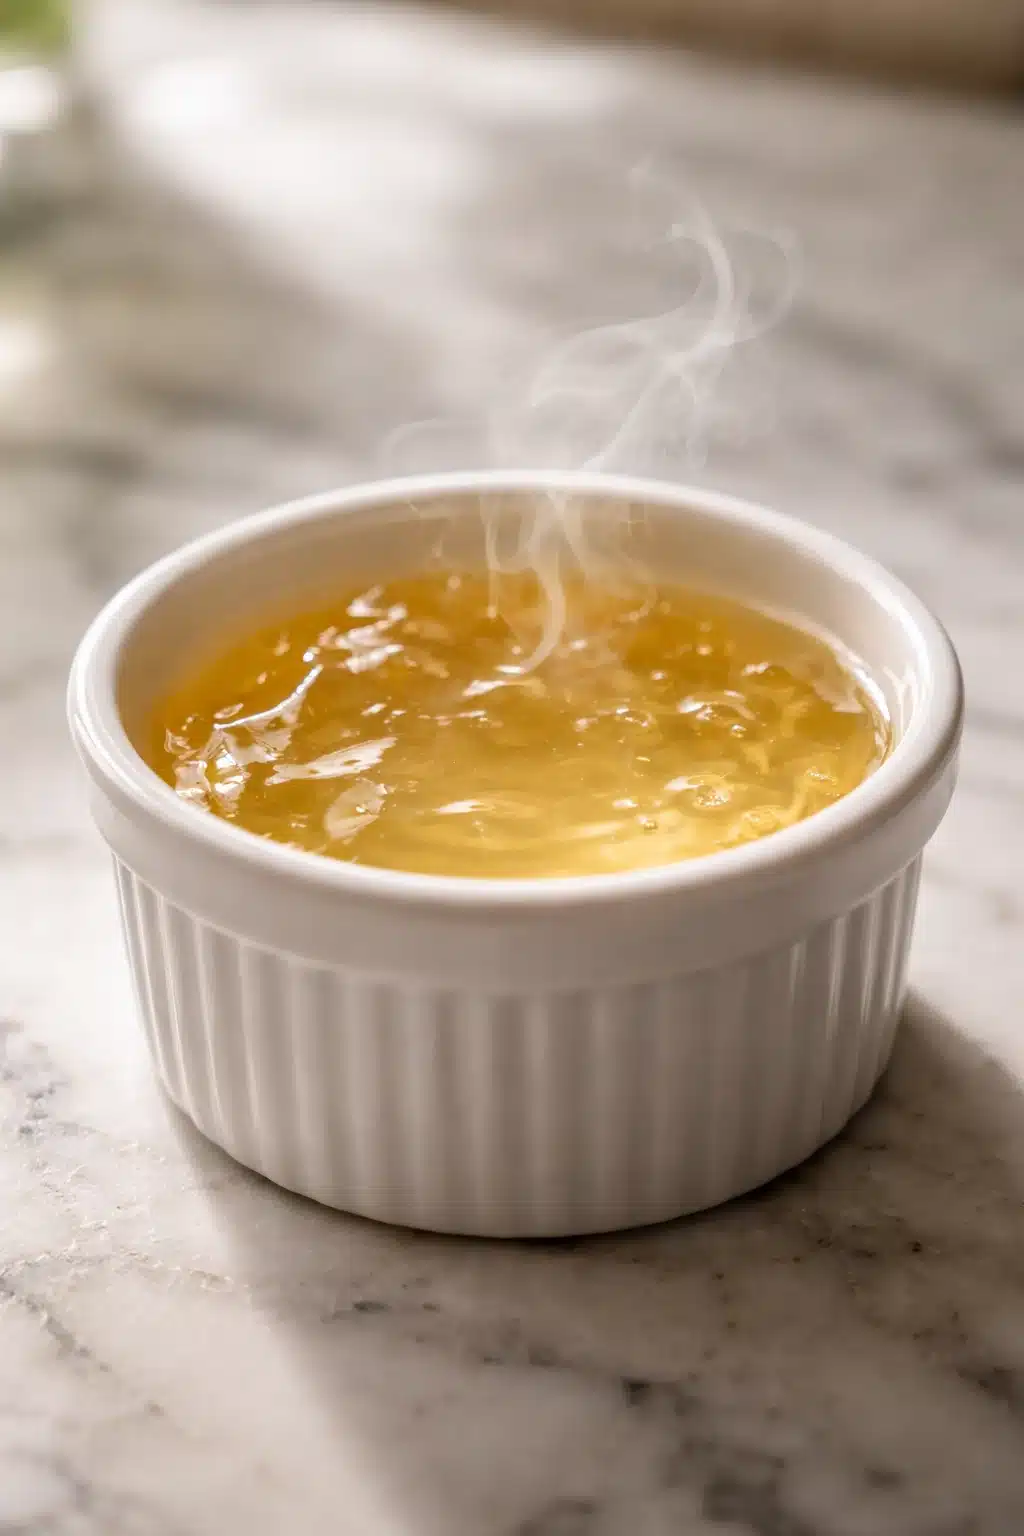
Once bloomed, the gelatin needs to be returned to a liquid state before you add it to your recipe. There are two ways to do this:
- Microwave method: 10 to 15 seconds on high. Check it — it should be fully liquid and slightly warm to the touch. If not fully melted, add 5 more seconds.
- Hot water bath method: Set the ramekin in a larger bowl filled with very hot (not boiling) water. Stir gently for 1 to 2 minutes until fully liquid.
Do not boil the gelatin. Overheating destroys the proteins and renders the gelatin ineffective. Warm enough to melt is all you need.
Step 4: Add to Your Recipe Immediately
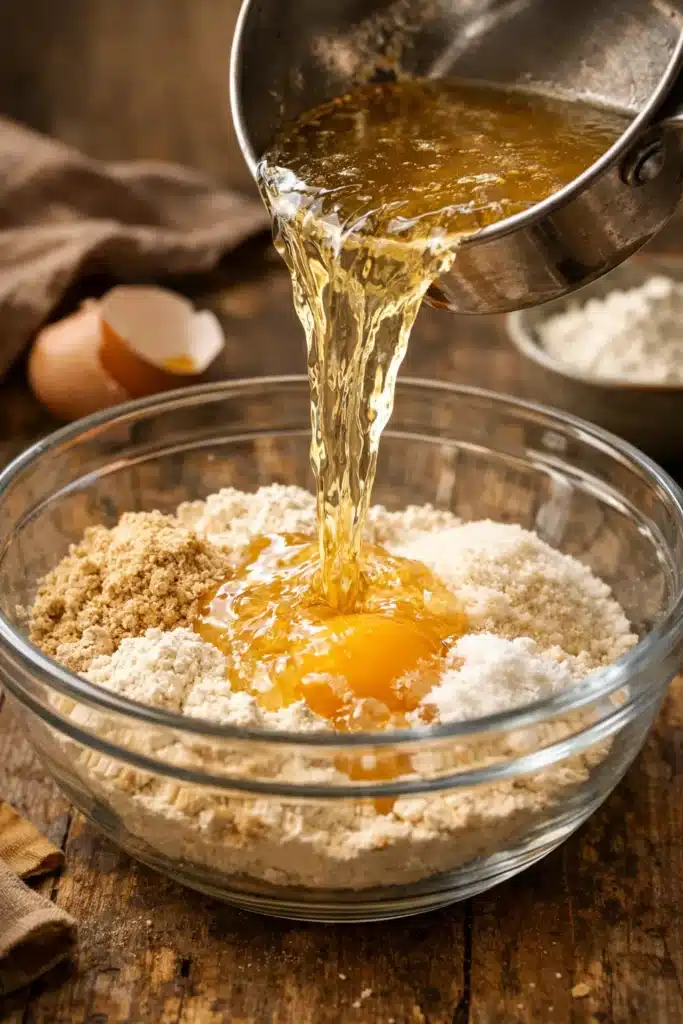
This is the most time-sensitive step. Gelatin begins to set when it drops below around 50 degrees F. Once your bloomed gelatin is liquid, add it immediately to your wet ingredients — eggs, oil, water, or milk depending on your recipe — and whisk to combine before it has a chance to cool and re-solidify.
If you are working in a cold kitchen or if your wet ingredients are cold from the refrigerator, work quickly. The gelatin will not harm your recipe if it partially sets before mixing — but you will get the best result when it is fully liquid and evenly distributed from the start.
Cold kitchen tip: In winter I warm my wet ingredients slightly before adding the bloomed gelatin. Just enough to keep the gelatin fluid — not hot enough to cook the eggs.
Step 5: Mix and Bake as Usual
Once the liquid gelatin is incorporated into your wet ingredients, proceed with your recipe exactly as written. Combine wet and dry ingredients, mix to a dough, shape, rise (if using yeast), and bake. The gelatin works invisibly in the background — no changes to your oven temperature, baking time, or any other part of your recipe.
The gelatin activates and sets as the baked good cools. This is why gluten free bread made with the gelatin trick holds its shape when removed from the oven instead of collapsing — the protein network is locking in place as the temperature drops.
Does the Gelatin Trick Gluten Free Recipe Really Work?
Yes — with one important clarification. It works dramatically well in certain types of recipes, and less effectively in others. Here is the honest breakdown:
Where It Works Best
- Yeast breads: The single most impactful application. The gelatin trick produces a loaf with real oven spring, an open crumb, and a crust that holds when sliced.
- Pizza dough: Gives the dough genuine stretch — not unlimited, but enough to press and shape without tearing every few centimeters.
- Pasta dough: Creates a dough that rolls thin without cracking and holds its shape in boiling water. The texture of the cooked pasta is noticeably silkier and chewier.
- Biscuits: Taller rise, visible layers, and a tender interior that pulls apart instead of crumbling.
- Savory pie crusts: Rolls without cracking, bakes up flaky, and slices cleanly at the table.
Where It Is Less Effective
- Cakes and cupcakes: The delicate, tender crumb of a cake does not benefit from additional protein structure. Gelatin can make cakes slightly dense. For these, xanthan gum or psyllium husk is better.
- Cookies: Most cookie recipes already have enough egg and fat to bind. Gelatin is unnecessary and can make cookies chewy in the wrong way.
- Muffins and quick breads: These rely on a different leavening mechanism and a lighter structure. Gelatin is generally not needed or helpful here.
Think of the gelatin trick as a tool designed specifically for doughs that need to stretch, hold, and chew. If you are making something that benefits from those qualities, use it. If you are making something that should be delicate and tender, stick with your existing binder. — Sophia
What About the Gelatin Trick for Weight Loss? The Kelly Clarkson Connection Explained
If you searched for the gelatin trick and landed here after reading about weight loss or celebrities, you are thinking of a different trend entirely — and I want to address it briefly and honestly before redirecting you.
The viral social media version of the gelatin trick refers to a collagen or gelatin-based drink recipe, sometimes mixed with citrus juice, water, and a sweetener, that has been promoted as a metabolism-boosting or weight-management supplement. Some versions of this trend have been associated with public figures including Kelly Clarkson, though the connections are often loosely sourced.
What Are the Three Extra Ingredients in the (Weight Loss) Gelatin Trick?
The drink-based version typically combines unflavored gelatin or collagen powder with lemon or lime juice, water, and a sweetener such as honey or a sugar-free alternative. Some versions also include apple cider vinegar as a fourth ingredient.
These drinks are consumed as supplements, not baked. The claimed benefits relate to collagen’s potential role in joint health, satiety, and skin elasticity — not to gluten free baking.
At The Savory Hearth: We use gelatin as a baking ingredient, not a supplement. The gelatin trick we teach is about transforming the texture of gluten free bread, pizza, and pasta — not weight loss. If you are curious about the nutritional side of gelatin, it is worth knowing that it is a high-protein, low-calorie ingredient with some genuine research behind it for joint and gut health. But that is a different article for a different site.
Gelatin vs Xanthan Gum for Gluten Free Baking
Most gluten free recipes you find online use xanthan gum as the structural binder. So why bother with gelatin? Here is a direct, honest comparison based on three years of testing both in my kitchen:
| Gelatin | Xanthan Gum | |
| Source | Animal collagen — whole food | Fermented corn sugar |
| Texture | Chewy, elastic, bread-like | Gummy, slightly slimy if over-used |
| Best use | Bread, pizza, pasta, biscuits | Cakes, cookies, muffins |
| Digestion | Well tolerated by most | Can cause bloating for some |
| Technique needed | Yes — must bloom first | No — mix directly into flour |
| Vegan | No (use agar agar) | Yes |
| Sophia’s choice | For all savory + yeast recipes | For light, tender sweet recipes |
Common Mistakes When Using the Gelatin Trick (And How to Fix Them)
You Added Dry Gelatin Directly to the Flour
This is the most common mistake and the most damaging to your result. Dry gelatin does not dissolve evenly in dough. You will get small, rubbery clumps scattered through your baked good. The fix is simple: always bloom in cold water first, then melt. Never skip this step.
Your Gelatin Re-Solidified Before You Added It
If your kitchen is cold, or if you got distracted between melting and mixing, the gelatin may have set back into a solid before you could incorporate it. Re-melt it for 10 seconds and proceed. The gelatin is not ruined — it just needs to be liquid when it meets the dough.
You Used Too Much
Doubling the amount of gelatin does not double the benefit — it gives you a baked good with a bouncy, rubbery texture that is deeply unpleasant. More is not better here. Follow the reference table and adjust upward by 1/4 teaspoon maximum when experimenting.
You Tried It in a Cake Recipe
Gelatin is not the right tool for light, tender baked goods. If you added gelatin to a cake recipe and got a dense, slightly bouncy result, that is exactly what you should expect. Use xanthan gum or psyllium husk for cakes, and save the gelatin trick for bread, pizza, pasta, and biscuits.
FAQs
Is gelatin gluten free and safe for celiac disease?
Pure unflavored gelatin is naturally gluten free and contains 0 ppm of gluten. It is safe for people with celiac disease. If you are highly sensitive, choose a brand that is certified gluten free or produced in a dedicated facility to avoid any risk of cross-contamination during manufacturing.
Can I use the gelatin trick in a recipe that already has xanthan gum?
Yes, but reduce the xanthan gum by half when you add gelatin. Using both at full amounts produces a texture that is too dense and sticky. In bread recipes I usually replace xanthan gum entirely with gelatin and find the results significantly better. For pizza and pasta, I do the same.
How much gelatin do I use for one loaf of gluten free bread?
Use 1 teaspoon of unflavored gelatin per cup of gluten free flour. Bloom it in 1 tablespoon of cold water, melt, and add to your wet ingredients. For a standard 2-cup flour loaf, that means 2 teaspoons of gelatin total.
Does the gelatin trick work with all gluten free flour blends?
Yes. The gelatin trick is flour-blend agnostic — it works with rice flour, almond flour, cassava flour, sorghum, oat flour, and commercial blends alike. The improvement in texture is consistent regardless of which flour base you are working with.
Can I make the gelatin trick recipe ahead of time?
You can bloom and melt gelatin up to one week ahead and store it in the refrigerator in a sealed container. It will solidify when cold. To use it, re-warm gently for 10 to 15 seconds until liquid and add immediately to your recipe.
Final Thoughts from Sophia
Gluten free baking gets a reputation for being second-best. The gelatin trick is my answer to that reputation. It is not a workaround or a compromise — it is a technique that works with the science of what gelatin actually does, applied thoughtfully to the recipes that benefit most from it. Try it once and you will understand immediately why it changed my baking. I think it will change yours too.
Every gelatin trick gluten free recipe linked above is developed and tested in my kitchen at The Savory Hearth. Written for real home cooks, not professional bakers. If something does not work for you, leave a comment and we will troubleshoot together.
Happy baking. — Sophia Bennett, The Savory Hearth
1 thought on “The Gelatin Trick Gluten Free Recipe That Changed My Baking Forever”