
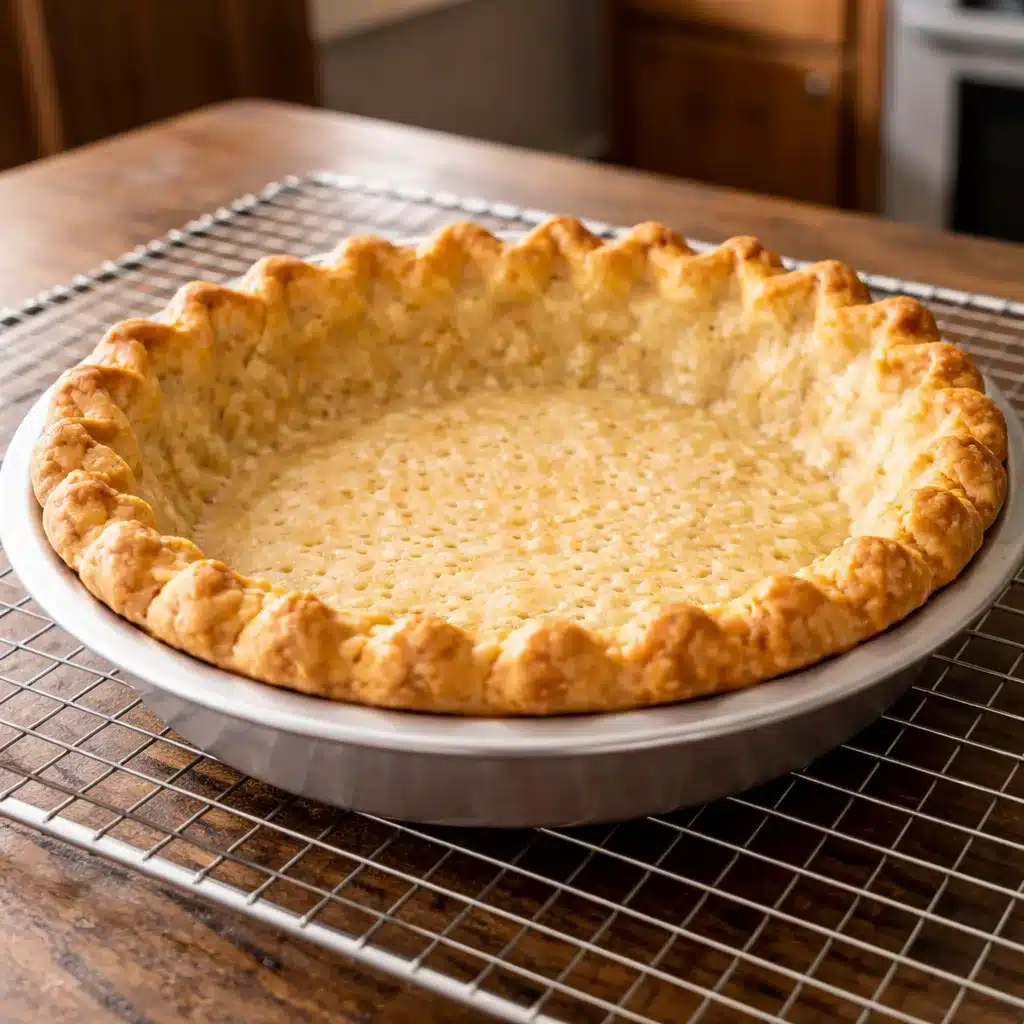
If you have struggled with gluten free pie crust before, this gelatin gluten free pie crust recipe is going to change that. Gluten free pie crust has a reputation for being difficult — too crumbly to roll, too fragile to transfer, and prone to falling apart on the plate. One teaspoon of unflavored gelatin fixes all of those problems.
This pie crust is part of our gelatin trick series — for the full science behind the method, read the complete gelatin trick gluten free guide before you start.
This gelatin gluten free pie crust rolls out cleanly, transfers to the pie dish without breaking, holds its shape during baking, and slices cleanly at the table. It works for both sweet and savory pies. And it is straightforward enough to make on a weeknight.
The gelatin trick pie crust method takes the guesswork out of gluten free pastry. Here is exactly how to do it.
The gelatin gluten free pie crust result is consistent and reliable — the two things that matter most when you are baking a pie.
Table of Contents
Table of Contents
Why Gelatin Makes a Better Gluten Free Pie Crust
Most gluten free pie crust recipes rely on xanthan gum or psyllium husk to hold the dough together. These work to varying degrees, but neither gives you the same rollable, flaky crust that wheat pastry delivers.
The same technique gives real stretch to gelatin gluten free pizza dough and real chew to gelatin gluten free bread — the protein network works differently in each recipe but the principle is identical.
The issue is structural. Wheat pie crust gets its flakiness from gluten strands that create layers in the dough when fat is cut in. Without gluten, those layers do not form naturally. The gelatin gluten free pie crust method rebuilds that structure using unflavored gelatin — a protein that creates its own flexible network in the dough, giving it enough elasticity to roll without cracking and enough strength to hold its shape during baking.
The gelatin trick pie crust texture is noticeably different from other gluten free crusts: it has visible layers, a clean snap when you break it, and a tender bite that does not feel gummy or dry. Used sparingly — just 1/2 teaspoon per crust — it does its job without making the crust tough or bouncy.
Is Gelatin Safe in a Gluten Free Pie Crust?
Yes. Pure unflavored gelatin in gluten free pie crust is safe for anyone on a gluten free diet. Gelatin is derived from animal collagen and contains no wheat, barley, rye, or gluten proteins. According to the FDA collagen and gelatin guidelines, pure gelatin is a regulated ingredient with no connection to gluten.
For celiac disease, confirm your gelatin brand is produced in a dedicated gluten free facility. Knox, Vital Proteins, and Great Lakes are reliable choices used regularly in the gluten free baking community.
Vegan option: Replace gelatin with 1/2 teaspoon of agar agar powder. Mix it directly into the flour rather than blooming separately. The crust will be slightly less elastic but still significantly better than without any binder.
Gelatin Gluten Free Pie Crust — Single Crust
Ingredients
Method
- Step 1 — Bloom the Gelatin
- Add 1/2 tsp gelatin to 1 tbsp ice-cold water.
- Stir gently. Rest 5 minutes until spongy.
- Step 2 — Cut in the Fat
- Whisk flour, salt, sugar in large bowl.
- Add cold butter cubes. Cut in with pastry
- cutter until mixture resembles coarse crumbs
- with pea-sized butter pieces remaining.
- Step 3 — Add Gelatin Water
- Melt bloomed gelatin 8-10 sec microwave.
- Add to flour mixture with 1 tbsp ice water.
- Mix with fork. Add ice water 1 tbsp at a
- time until dough just comes together.
- Step 4 — Chill
- Shape into flat disk. Wrap in plastic wrap.
- Refrigerate minimum 45 minutes.
- Step 5 — Roll Out
- Let dough sit 5 min at room temperature.
- Roll between 2 sheets of parchment paper
- to 1/8 inch thickness.
- Step 6 — Fit and Chill Again
- Ease into pie dish without stretching.
- Trim and crimp edges. Chill 20 minutes.
- Step 7 — Bake
- Blind bake: line with parchment + weights,
- 375°F for 20 min. Remove weights, bake
- 10-15 min more until golden.
- For filled pies: follow filling recipe.
Notes
– Roll between parchment — no extra flour needed
– Chill twice: after mixing AND after fitting dish
– Use metal pie pan for crispier base
– For double crust: double all ingredients
– Dairy free: replace butter with cold coconut oil
– Freeze unbaked crust up to 3 months
– Always blind bake for wet or custard fillings
Gelatin Gluten Free Pie Crust — Ingredients
For One Single Crust (9-inch pie)
Here are the gelatin gluten free pie crust ingredients for one single crust. Double everything for a double-crust pie:
- 1/2 teaspoon unflavored gelatin powder
- 1 tablespoon ice-cold water — for blooming the gelatin
- 1 1/4 cups gluten free all-purpose flour blend (with xanthan gum)
- 1/2 teaspoon fine sea salt
- 1 tablespoon sugar — for sweet pies only, skip for savory
- 1/2 cup (1 stick / 113g) unsalted butter, very cold, cut into 1/2-inch cubes
- 2–3 tablespoons ice water — added one tablespoon at a time
For a cozy weekend breakfast, try tall gelatin gluten free biscuits — or if you want to understand when to use gelatin versus xanthan gum in your baking, read our gelatin vs xanthan gum guide.
Ingredient Notes
Cold Fat — The Most Important Variable for Gelatin Gluten Free Pie Crust
For a flaky gelatin gluten free pie crust, cold butter is non-negotiable. The fat needs to stay in small, solid pieces throughout the mixing process. When those pieces hit the hot oven, they create steam — and that steam is what creates the layers. If your butter melts before the crust hits the oven, you will not get flakiness. Cut your butter into cubes and freeze for 15 minutes before starting.
Gluten Free Flour Blend
Use a blend that contains xanthan gum — Bob’s Red Mill 1-to-1 and King Arthur Measure for Measure both work reliably in this recipe. The xanthan gum and gelatin together give the crust its structure and rollability.
Ice Water Temperature
The water must be genuinely cold. I keep a glass of water in the freezer for 10 minutes before starting. Warm water activates the gelatin prematurely and makes the dough sticky and difficult to handle. Keep everything cold from start to finish.
How to Make Gelatin Gluten Free Pie Crust — Step by Step
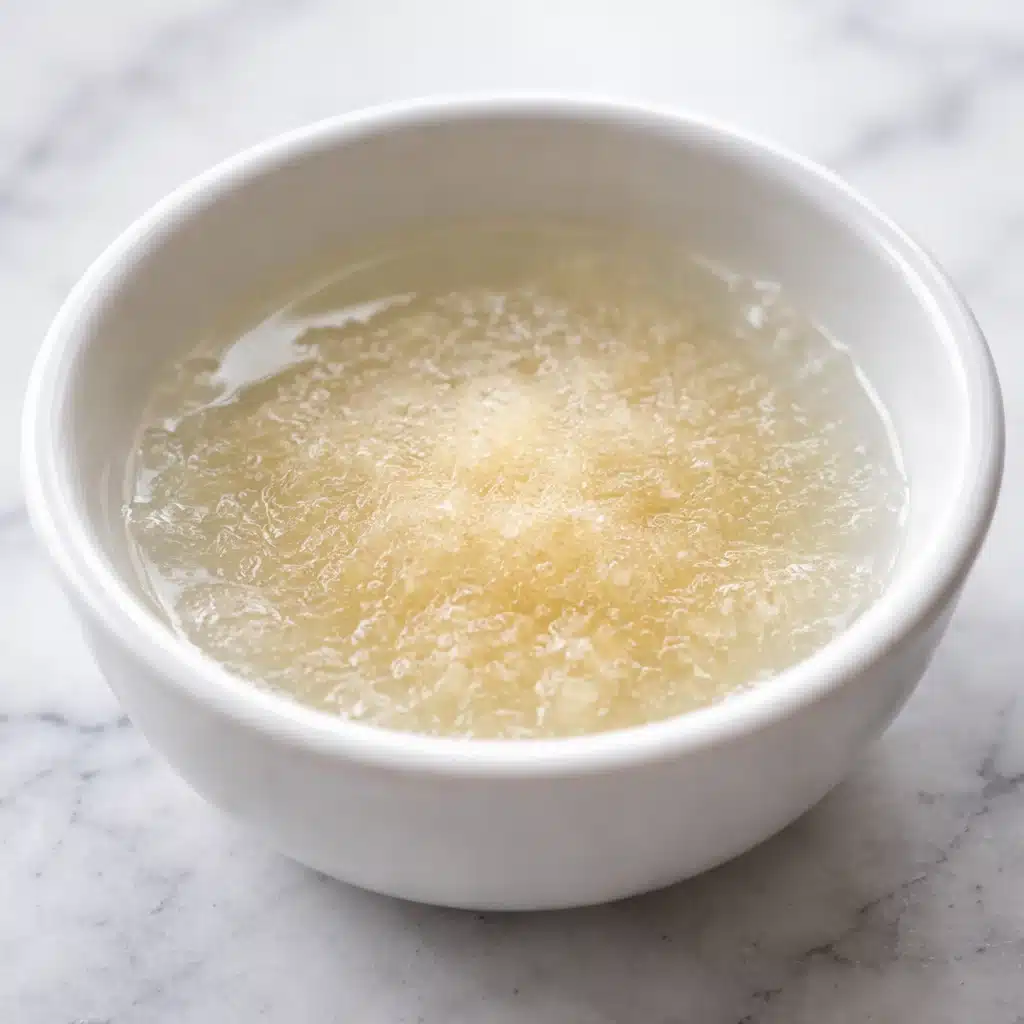
Step 1: Bloom the Gelatin
Add 1/2 teaspoon of unflavored gelatin to 1 tablespoon of ice-cold water in a small bowl. Stir gently and leave for 5 minutes until it becomes spongy and firm. This is the bloom step for your gelatin for gluten free pie crust. Do not use warm water here — cold water gives you more working time before the gelatin starts to set.
Daniel’s note: I bloom the gelatin while the butter is in the freezer. Both are ready at the same time, and I can go straight into mixing without stopping.
Step 2: Mix the Dry Ingredients and Cut in the Fat
Whisk the flour blend, salt, and sugar (if using) in a large bowl. Add the cold butter cubes. Using a pastry cutter, two knives, or your fingertips, work the butter into the flour until the mixture resembles coarse breadcrumbs with some pea-sized pieces remaining. Those larger pieces are what create flakiness. For your gelatin gluten free pie crust fat mixture, stop before the butter is fully incorporated — uneven is correct.
Work quickly. If your hands are warm, use a food processor instead: pulse 8 to 10 times until the mixture reaches the right texture. The goal is to keep the fat cold throughout this step.
Step 3: Add the Gelatin Water
Warm your bloomed gelatin for 8 to 10 seconds in the microwave until just liquid. Add it immediately to the flour and butter mixture along with 1 tablespoon of ice water. Use a fork to mix, then add ice water one tablespoon at a time until the gelatin gluten free pie crust dough just comes together. It should hold when you press a handful together, but not feel wet or sticky. Stop adding water as soon as it coheres.
Do not overwork the dough. The more you handle gluten free pastry dough, the tougher and stickier it becomes. Mix until it just holds together, then stop.
Step 4: Chill the Dough
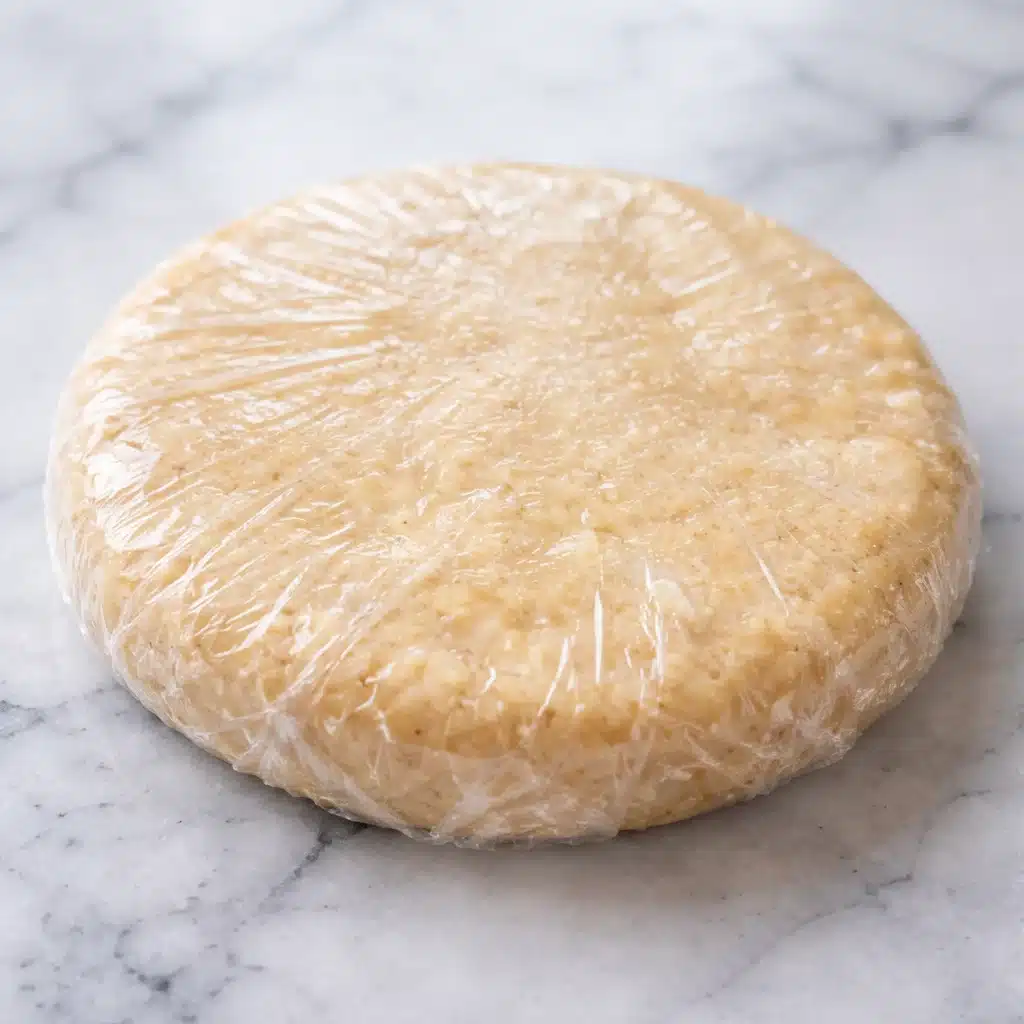
Shape the dough into a flat disk about 1 inch thick. Wrap tightly in plastic wrap and refrigerate for at least 45 minutes, or up to 2 days. This chilling step is critical for the gelatin trick pie crust: the cold firms up the butter, allows the gelatin to set slightly, and relaxes any tension in the dough — making it significantly easier to roll without cracking.
Daniel’s tip: Make the dough the night before. Morning-of pie assembly is much faster when the dough is already chilled and ready to roll.
Step 5: Roll Out the Crust
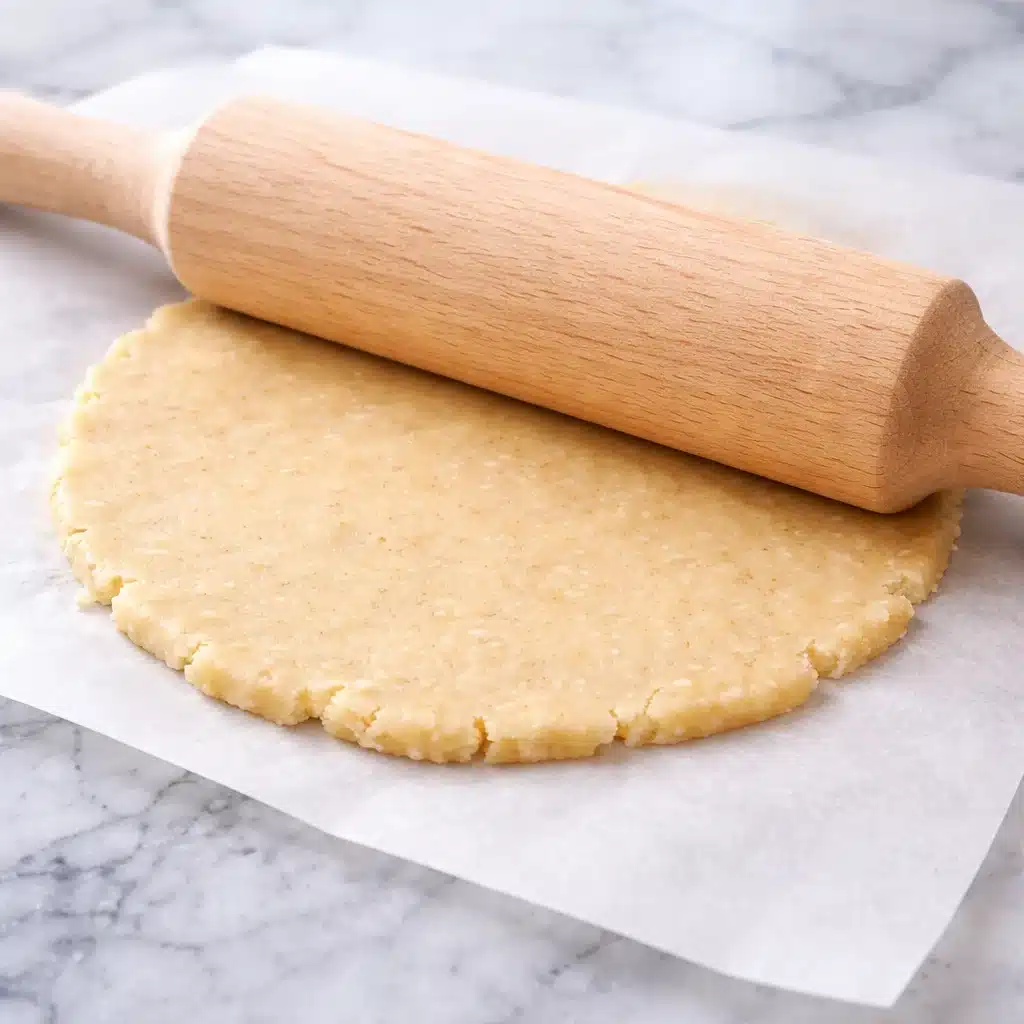
Remove the dough from the refrigerator and let it sit at room temperature for 5 minutes — just enough to take the edge off the chill. Roll the gelatin gluten free pie crust between two sheets of parchment paper or plastic wrap. This eliminates sticking without adding extra flour, which can toughen the crust. Roll from the center outward, rotating the parchment as you go, until the dough is about 1/8 inch thick and 2 inches larger than your pie dish.
If the dough cracks at the edges, press the cracks back together with your fingers and continue rolling. Minor cracking is normal and easy to fix. If the dough is cracking extensively, it is too cold — let it warm for another 2 to 3 minutes.
Step 6: Transfer and Fit the Crust
Peel back one sheet of parchment. Flip the dough over the pie dish and peel off the second sheet. Ease the dough into the dish without stretching it — stretching causes shrinkage during baking. Trim the overhang to 1 inch and fold it under to create a thicker edge. Crimp as desired.
Step 7: Chill Again, Then Bake
Refrigerate the crust-lined pie dish for 20 minutes before baking. This second chill is what keeps the gelatin gluten free pie crust from shrinking when it hits the oven. For blind baking (an unfilled crust), line with parchment, fill with pie weights or dried beans, and bake at 375°F for 20 minutes. Remove the weights and bake a further 10 to 15 minutes until golden. For filled pies, follow your filling recipe for baking time and temperature.
Using Gelatin Gluten Free Pie Crust for Sweet and Savory Pies
The gelatin gluten free pie crust sweet version uses the recipe as written with the tablespoon of sugar included. It works well with apple pie, pumpkin pie, pecan pie, fruit tarts, and custard-based pies. The gelatin gives the crust enough structure to hold wet fillings without going soggy at the base.
For the gelatin trick pie crust savory version, skip the sugar and add 1/2 teaspoon of garlic powder or dried thyme to the flour for additional flavor. This crust works well for quiche, chicken pot pie, and hand pies. The savory version can also be made with cold lard or vegetable shortening instead of butter for a more neutral flavor.
Pie Fillings That Work Best with This Crust
- Apple pie — the gelatin crust holds up to the juice without going soggy
- Pumpkin pie — pre-bake the crust 10 minutes before adding the custard filling
- Pecan pie — the dense filling sits cleanly on this sturdy crust
- Quiche — use the savory version, blind bake fully before adding filling
- Chicken pot pie — use as both bottom and top crust for a complete pie
- Fruit galette — the dough is sturdy enough for a free-form, rustic shape
Daniel’s Tips for a Reliable Gelatin Gluten Free Pie Crust
These are the things that make the biggest difference when making gelatin gluten free pie crust consistently:
- Keep everything cold — gelatin gluten free pie crust cold fat is the single most important factor in a flaky result
- Roll between parchment — gelatin trick pie crust rolling method without extra flour keeps the crust tender
- Chill twice — once after mixing, once after fitting in the dish
- Do not stretch the dough when fitting the pie dish — ease it in gently
- Always blind bake for custard or wet fillings — prevents a soggy bottom
- Use a metal pie pan — conducts heat better than glass for a crisper base
- Let the finished pie cool before slicing — the gelatin sets as it cools and makes slicing cleaner
Gelatin Gluten Free Pie Crust Variations
Dairy Free Version
For a gelatin gluten free pie crust dairy free version, replace butter with an equal amount of very cold coconut oil or a solid dairy-free butter alternative like Miyoko’s or Country Crock Plant Butter. Keep the fat in the freezer for 15 minutes before using. The result is slightly less flaky than the butter version but still significantly better than most dairy-free crusts.
Herb Crust for Savory Pies
Add 1 teaspoon of fresh thyme leaves or 1/2 teaspoon of dried rosemary to the flour mixture. The herbs bake into the crust and add a savory, aromatic layer that works especially well with chicken or vegetable fillings.
Almond Flour Variation
Replace 1/4 cup of the gluten free flour blend with almond flour. This adds a subtle nuttiness and helps the crust brown more evenly. Reduce the ice water by 1 tablespoon as almond flour absorbs less liquid. Works best for fruit and custard pies.
Double Crust
Double all ingredients. Divide the dough into two equal portions — one slightly larger than the other for the bottom crust. Chill both separately. Roll the larger portion for the bottom, add your filling, roll the smaller portion for the top, and crimp the edges together. Cut 4 to 5 vents in the top crust before baking.
Storing Your Gelatin Gluten Free Pie Crust
Refrigerator
Wrap the disk of dough tightly in plastic wrap and refrigerate for up to 3 days. This is one of the more make-ahead friendly gluten free doughs — the gelatin actually improves the texture slightly during refrigeration.
Freezer
To freeze gelatin gluten free pie crust dough, wrap the disk tightly in plastic wrap then in aluminum foil. Freeze for up to 3 months. Thaw overnight in the refrigerator before rolling. You can also freeze a fully fitted, unbaked crust in the pie dish — bake directly from frozen, adding 5 to 10 minutes to the baking time.
Baked Crust
A fully blind-baked crust can be stored at room temperature, loosely covered, for up to 2 days before filling. For longer storage, wrap well and freeze for up to 1 month. Reheat at 325°F for 8 minutes before filling.
Gelatin Gluten Free Pie Crust — FAQs
Can I make gelatin gluten free pie crust ahead of time?
Yes — this is one of the best make-ahead gluten free pastry recipes. The dough keeps in the refrigerator for up to 3 days and in the freezer for up to 3 months. I typically make the dough the day before and refrigerate it overnight.
Why is my gluten free pie crust shrinking during baking?
Shrinkage happens when the dough has been stretched during fitting or has not been chilled long enough before baking. Always ease the dough into the dish without pulling it, chill the fitted crust for 20 minutes before baking, and use pie weights during blind baking to maintain the shape.
How do I blind bake a gelatin gluten free pie crust?
To blind bake a gelatin gluten free pie crust: fit the crust in your pie dish, chill for 20 minutes, line with parchment paper, fill with pie weights or dried beans, and bake at 375°F for 20 minutes. Remove the weights and parchment and bake for a further 10 to 15 minutes until golden. Let cool completely before adding a cold or room-temperature filling.
Can I use this crust recipe for hand pies?
Yes. The gelatin gives the dough enough strength to hold a filling without bursting at the seams. Roll to 1/8 inch thickness, cut into 4 to 5 inch rounds or squares, add a tablespoon of filling to one side, fold over, and crimp with a fork. Brush with egg wash and bake at 400°F for 20 to 22 minutes.
Does the gelatin affect the taste of the pie crust?
No. Unflavored gelatin has no detectable taste at the amounts used in this recipe. Your pie crust will taste like pie crust — buttery, slightly salty, and flaky. The gelatin contributes only structure and texture, not flavor.
Final Thoughts from Daniel
Gluten free pie crust does not need to be complicated or unpredictable. With the right technique and one simple addition — unflavored gelatin — you get a crust that works the way crust is supposed to work. That is what this recipe delivers. Consistent, reliable results, every time.
Every gelatin gluten free pie crust recipe at The Savory Hearth is tested to be dependable and straightforward. If you run into trouble with this one, leave a comment below with the details and I will help you sort it out.
Make it, use it, and enjoy a pie that actually holds together. That is the whole point.
Good luck. — Daniel Brooks, The Savory Hearth