

Perfect homemade gravy is one of those kitchen skills that transforms everything it touches — and once you master it, you will genuinely wonder how you ever settled for the packet version. This recipe gives you a silky smooth, deeply rich brown gravy in just 15 minutes, made entirely from scratch with pantry staples, and it works beautifully with or without pan drippings.
The secret to perfect homemade gravy is not complicated — it is the combination of a properly cooked gluten-free roux, a dual broth base (chicken and beef together for that ideal savory depth), a splash of Worcestershire sauce and soy sauce for color and umami, and a cold butter finish that gives the gravy that glossy, restaurant-quality sheen.
Whether you are making this for a weeknight dinner, a holiday spread, or because you just need something warm and delicious to pour over everything in sight, this perfect homemade gravy recipe delivers every single time. Let me walk you through every step and every secret.
Table of Contents
Table of Contents
Why You’ll Love This Perfect Homemade Gravy
- Ready in just 15 minutes from start to finish
- Works with OR without pan drippings — no roast required
- Silky smooth, lump-free texture every single time
- Rich, deeply savory brown color from the dual broth technique
- Gluten-free adaptable with a simple swap
- This perfect homemade gravy stores and reheats beautifully
- Versatile — pairs with chicken, beef, pork, mashed potatoes, biscuits, and more
The 4 Secrets to Perfect Homemade Gravy
Most homemade gravy recipes give you a basic result. This one gives you something genuinely spectacular. Here are the four techniques that make all the difference:
Secret 1: Cook the Roux Properly
A roux — equal parts butter and flour cooked together — is the foundation of perfect homemade gravy. The mistake most people make is not cooking it long enough. You need to cook the roux for at least 2 to 3 minutes over medium heat until it turns a light caramel color and smells nutty. That cooking time eliminates the raw flour taste completely and adds a toasted depth that makes the gravy taste far more complex. The darker you cook the roux, the deeper the flavor — but do not go past light caramel or it loses thickening power.
Secret 2: The Dual Broth Technique
Using chicken broth alone produces a thin, pale gravy. Using beef broth alone can be too heavy and one-dimensional. The secret to perfect homemade gravy is combining both — chicken broth for the familiar base flavor and beef broth for the deep, rich color and umami depth. Together they create a brown gravy that tastes like it simmered with drippings all day, even when made entirely from scratch. We use this exact dual broth combination in our KFC style gravy copycat — the same technique, proven to work every time.
Secret 3: Worcestershire and Soy Sauce
A tablespoon of Worcestershire sauce and a teaspoon of soy sauce are the two additions that most recipes skip and should not. Worcestershire adds a complex savory fermented depth, and soy sauce deepens the color to that gorgeous mahogany brown while adding umami without any detectable soy flavor. Together they make perfect homemade gravy taste like it came from a restaurant kitchen, not a packet.
Secret 4: Cold Butter Finish
This is a classical French technique called monter au beurre — finishing a sauce by whisking cold butter into it off the heat. When you whisk 1 to 2 tablespoons of cold butter into the finished gravy with the heat off, it emulsifies into the sauce and creates a glossy, velvety sheen and silky texture that makes the gravy look and feel restaurant-quality. This single step transforms good gravy into genuinely outstanding gravy.
Ingredients
Here is everything you need to make perfect homemade gravy — enough for 6 to 8 servings:
For the Perfect Homemade Gravy
- 3 tbsp unsalted butter (plus 1 tbsp cold butter for finishing)
- 3 tbsp all-purpose flour (or GF 1:1 blend)
- 1.5 cups low-sodium chicken broth
- 1 cup low-sodium beef broth
- 1 tbsp Worcestershire sauce
- 1 tsp soy sauce (or tamari for GF)
- 1/2 tsp garlic powder
- 1/4 tsp onion powder
- 1/4 tsp black pepper
- Salt to taste
Optional Add-Ins for More Flavor
- Pan drippings — replace up to 1 cup of broth with strained pan drippings for even richer gravy
- Fresh thyme or rosemary — add 1 sprig while simmering, remove before serving
- 1/4 cup heavy cream — stir in at the end for a richer, creamier finish
- 1 tsp mushroom powder — optional umami booster
Broth tip: Low-sodium broths are essential for perfect homemade gravy. The Worcestershire sauce and soy sauce already add significant saltiness — starting with full-sodium broth almost always produces gravy that is too salty. Always taste and adjust at the end.
Gluten-free: Swap the all-purpose flour for a 1:1 GF flour blend. The roux works nearly identically and the finished perfect homemade gravy is just as silky and glossy.
With drippings: If you have roasted a chicken, turkey, beef, or pork roast, strain the pan drippings and use them to replace up to 1 cup of the broth. The result will be even more deeply flavored.
Equipment You’ll Need
- Medium saucepan
- Whisk (essential for lump-free gravy)
- Fine mesh strainer (optional — for ultra-smooth gravy)
- Measuring cups and spoons
How to Make Perfect Homemade Gravy
This perfect homemade gravy comes together in one saucepan in just 15 minutes. Every step matters — follow them carefully and the result will be flawless every time.
Step 1: Make the Roux
Melt 3 tablespoons of butter in a medium saucepan over medium heat. Once fully melted and beginning to foam, add the flour all at once. Whisk constantly and cook the roux for 2 to 3 minutes, until it turns a light caramel-golden color and smells nutty — like popcorn just starting to pop. Do not rush this step. This is where the perfect homemade gravy gets its color, depth, and lump-free foundation. If you see white patches, keep whisking and cooking.
Step 2: Add the Broths
Remove the saucepan from the heat briefly, then slowly pour in the chicken broth about half a cup at a time, whisking vigorously after each addition. This gradual addition is what prevents lumps — the starch in the roux needs to be fully hydrated before more liquid is added. Return to medium heat after each addition and whisk until smooth. Once all the chicken broth is incorporated, add the beef broth in the same gradual way, whisking constantly.
Step 3: Season and Build Flavor
With all the broth incorporated and the saucepan over medium heat, add the Worcestershire sauce, soy sauce, garlic powder, onion powder, and black pepper. Stir everything together and watch the color deepen to that gorgeous mahogany brown. Bring the perfect homemade gravy to a gentle simmer and cook for 4 to 5 minutes, stirring frequently, until it thickens to a glossy consistency that coats the back of a spoon. Add any fresh herbs now if using.
Step 4: Taste and Adjust
This is the most important step. Taste the gravy carefully and adjust seasoning — add salt as needed, more Worcestershire for depth, a pinch more pepper for heat. If the gravy is too thick, whisk in a splash of warm broth. If too thin, simmer for 2 more minutes. If using heavy cream, stir it in now off the heat.
Step 5: Cold Butter Finish
Remove the saucepan from the heat completely. Add the tablespoon of cold butter and whisk it in vigorously until fully melted and incorporated. This is the finishing technique that gives perfect homemade gravy its silky, glossy, restaurant-quality sheen. Serve immediately or keep warm over very low heat, whisking occasionally.
Tips for Perfect Homemade Gravy Every Time
- Cook the roux 2-3 minutes minimum — never rush this step. Raw flour = powdery gravy.
- Add broth gradually — half a cup at a time, whisking fully between each addition.
- Use warm broth — cold broth added to a hot roux can cause lumps. Warm it briefly in the microwave first.
- Do not boil hard once thickened — a gentle simmer is all you need. Hard boiling can break the gravy.
- Low-sodium broth is non-negotiable — Worcestershire and soy sauce add plenty of salt already.
- Add the cold butter OFF the heat — this is essential for the emulsification to work properly.
- Strain through a fine mesh sieve for ultra-smooth, restaurant-quality texture.
- Taste, taste, taste — season at the end, not the beginning, for perfect homemade gravy every time.
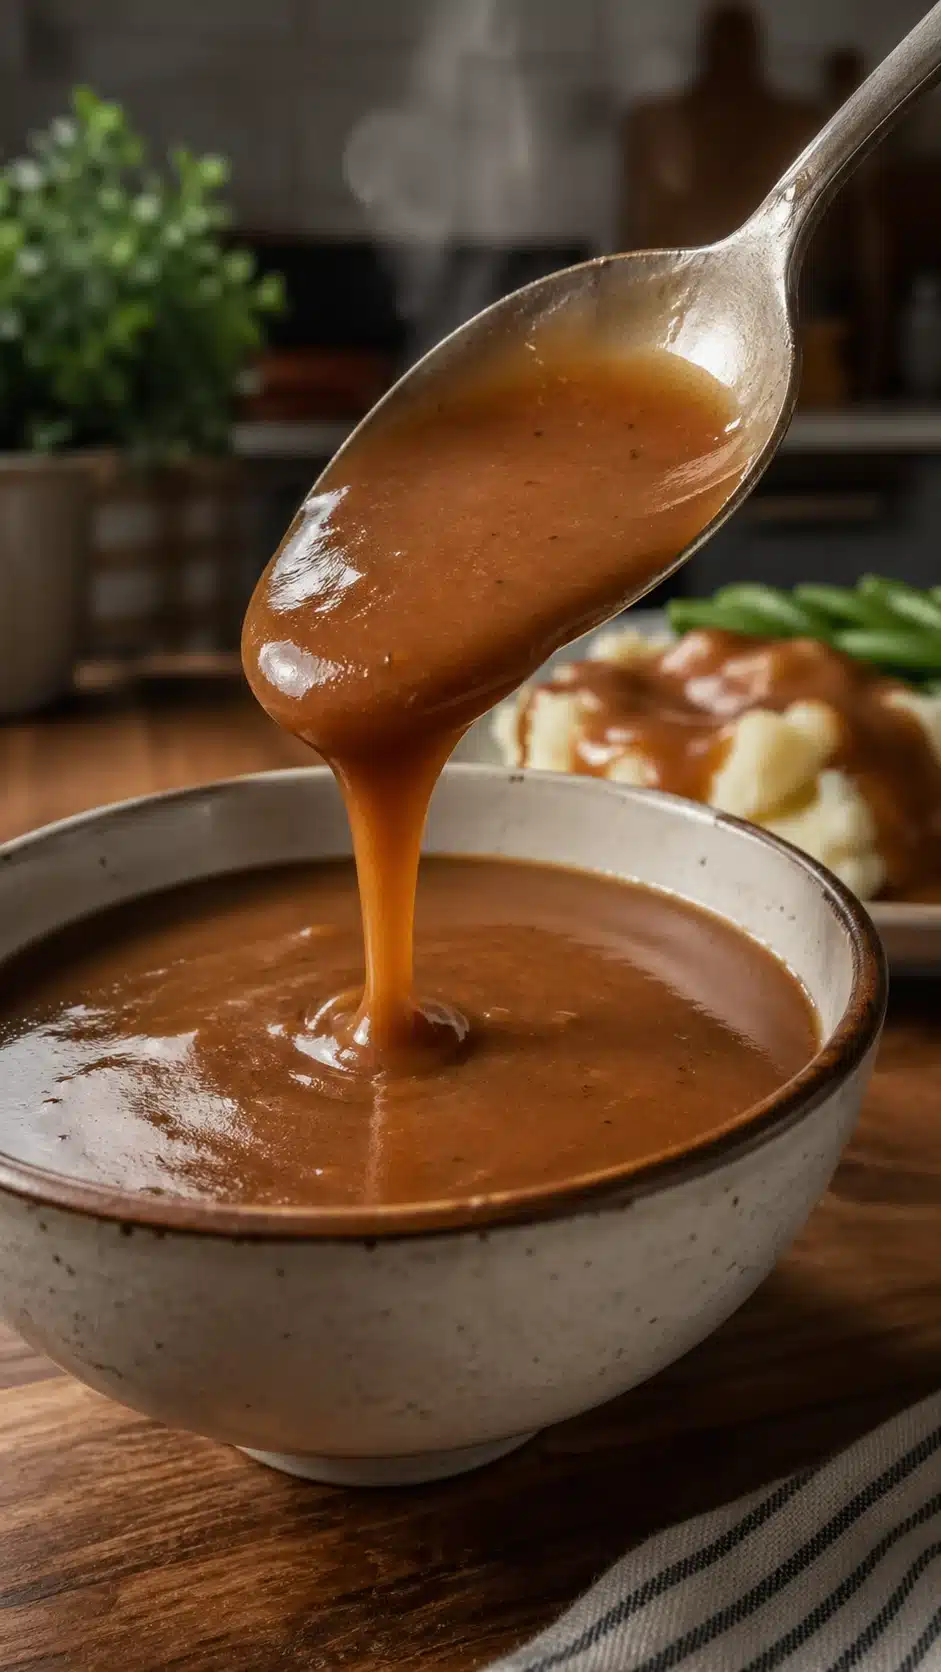
Perfect Homemade Gravy
Ingredients
Equipment
Method
- Melt butter in a saucepan over medium heat. Add flour and whisk constantly for 2–3 minutes until the roux turns light caramel and smells nutty.
- Gradually add chicken broth about 1/2 cup at a time, whisking well after each addition until smooth. Repeat with beef broth.
- Add Worcestershire sauce, soy sauce, garlic powder, onion powder, and black pepper. Stir and bring to a gentle simmer.
- Cook for 4–5 minutes, stirring frequently, until thickened and glossy. Adjust seasoning and consistency if needed.
- Remove from heat and whisk in cold butter until fully incorporated and glossy.
- Serve immediately or keep warm, whisking occasionally.
Notes
Perfect Homemade Gravy Troubleshooting
Gravy is lumpy: Add the liquid too fast and you get lumps. Fix by straining through a fine mesh sieve and whisking vigorously over low heat. Prevention: always add broth gradually and whisk constantly.
Gravy is too thin: Simmer uncovered for 2 to 3 more minutes. Alternatively, mix 1 tsp cornstarch with 2 tsp cold water and whisk into the simmering gravy — it will thicken within 2 minutes.
Gravy is too thick: Whisk in warm broth one tablespoon at a time until you reach the right consistency.
Gravy tastes flat: Add more Worcestershire sauce (1/2 tsp at a time), a tiny splash of soy sauce, or a pinch of salt. A drop of white wine vinegar can also brighten the flavor significantly.
Gravy is too salty: Whisk in a splash of heavy cream, a pinch of sugar, or additional unseasoned broth to dilute the saltiness.
Gravy has a raw flour taste: The roux was not cooked long enough. Return to low heat and simmer for 3 to 5 more minutes, stirring constantly.
Variations
Gluten-free: Use a 1:1 GF flour blend for the roux. The perfect homemade gravy comes out just as silky and rich. For an even simpler GF version, skip the roux entirely and whisk 2 tablespoons of cornstarch into 2 tablespoons of cold water, then whisk into the simmering broth mixture.
Chicken gravy: Use all chicken broth (skip the beef broth) and add 1/4 tsp dried thyme for a lighter, more delicate gravy perfect for roasted chicken.
Beef gravy: Use all beef broth and add 1 tsp tomato paste for a deeper, more robust brown gravy ideal for pot roast and beef dishes.
Turkey gravy: Use turkey or chicken broth and add pan drippings from your roasted turkey for the richest, most flavorful holiday gravy.
Mushroom gravy: Sauté 1 cup of finely diced cremini mushrooms in the butter before adding flour for an earthy, deeply savory mushroom gravy.
Creamy gravy: Stir in 1/4 cup of heavy cream at the end for a richer, velvety finish that works beautifully over mashed potatoes and biscuits.
Dairy-free: Use olive oil or refined coconut oil instead of butter for the roux. The cold butter finish can be replaced with dairy-free butter.
What to Serve with Perfect Homemade Gravy
- Creamy mashed potatoes — the ultimate pairing, always
- Slow cooker pot roast with brown gravy — ladle this perfect homemade gravy generously over sliced beef and vegetables
- Smothered chicken thighs — pour this perfect homemade gravy over pan-seared chicken for an extra layer of richness
- Chicken and rice with homemade gravy — use this as the base gravy
- Gluten-free dinner rolls — tear and dunk into the warm gravy, every single time
- Ground beef and gravy — combine for the ultimate one-pan comfort food dinner
- Roasted turkey, chicken, or pork — the classic holiday drizzle
- Biscuits — pour generously for a Southern-style biscuits and gravy
How to Store and Reheat
Refrigerator: Store perfect homemade gravy in an airtight container for up to 4 days. It will thicken considerably when cold — this is completely normal.
Freezer: Freeze in airtight containers for up to 3 months. Note: if you added heavy cream or butter finish, the gravy may separate slightly when frozen. Thaw overnight in the fridge and whisk vigorously while reheating to bring it back together.
Reheat: Warm in a saucepan over medium-low heat, adding warm broth one tablespoon at a time and whisking constantly until smooth and the right consistency. Alternatively, microwave in 60-second intervals, whisking between each, until heated through. Finish with a small knob of cold butter for that silky texture again.
Make-ahead tip: This perfect homemade gravy can be made up to 3 days in advance. Store without the butter finish and add it fresh when reheating for the best texture.
Frequently Asked Questions
Can I make homemade gravy without pan drippings?
Absolutely — and this recipe is specifically designed to produce perfect homemade gravy without any drippings. The dual broth combination (chicken plus beef) plus Worcestershire sauce and soy sauce creates a flavor and color that rivals drippings-based gravy every time. If you do have drippings available, strain them and substitute for up to 1 cup of the broth for even more depth.
Why is my homemade gravy lumpy?
Lumps are caused by either adding liquid too quickly or not whisking enough. The fix is to always add broth gradually — half a cup at a time — and whisk vigorously and constantly after each addition before adding more. If you already have lumps, strain the gravy through a fine mesh sieve and return to the pan. They will disappear completely.
How do I make perfect homemade gravy gluten-free?
Simply swap the all-purpose flour for a 1:1 gluten-free flour blend for the roux. Make sure your chicken broth, beef broth, Worcestershire sauce, and soy sauce (use tamari) are all certified gluten-free. The roux technique works nearly identically with GF flour and the finished perfect homemade gravy is just as silky and rich as the original.
Can I make this gravy ahead of time?
Yes — perfect homemade gravy makes an excellent make-ahead component. Prepare it up to 3 days in advance, store in the fridge without the cold butter finish, and reheat gently on the stovetop with a splash of warm broth. Add the cold butter finish fresh when reheating for the best texture and sheen.
Why does my gravy taste like flour?
The roux was not cooked long enough. A roux needs at least 2 to 3 minutes of cooking over medium heat before adding any liquid — you should see it turn a light caramel color and smell nutty before proceeding. If your finished gravy tastes floury, return it to medium-low heat and simmer for an additional 3 to 5 minutes, stirring constantly, to cook out the raw flour taste.
Final Thoughts from Sophia
Perfect homemade gravy is one of those foundational kitchen skills that pays dividends every single time you use it. Master this recipe and you will never go back to packets or jars — not because those are terrible, but because the from-scratch version is genuinely in a different league of deliciousness.
The dual broth technique, the properly cooked roux, the Worcestershire and soy finish, the cold butter at the end — these are not tricks or gimmicks, they are the actual building blocks of a great sauce. Use them every time and your perfect homemade gravy will be something people talk about. Leave a comment below and let me know how it turned out — and what you poured it over first! — Sophia